Build a Gmail Add-on with Apps Script: A Step-by-Step Guide
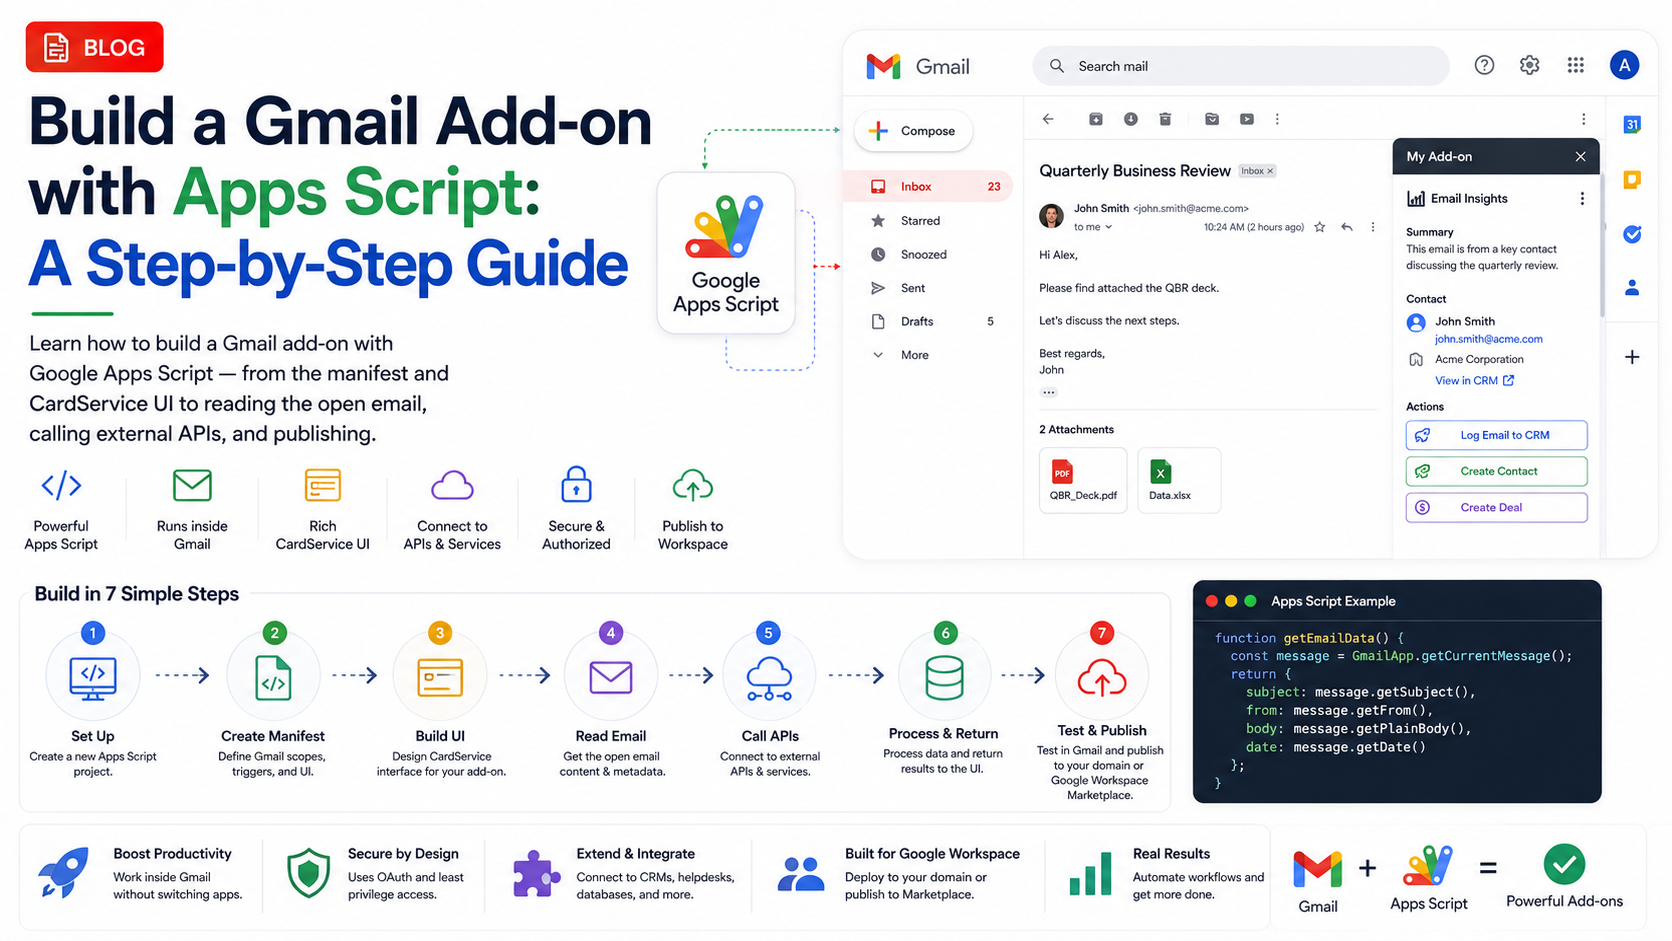
Learn how to build a Gmail add-on with Google Apps Script — from the manifest and CardService UI to reading the open email, calling external APIs, and publishing.
Introduction
Gmail add-ons put your tools right where people already work — in the sidebar next to the email they’re reading. They can pull up CRM context, create tickets, translate messages, or log activity, all without the user leaving their inbox. And with Google Apps Script, you can build one without provisioning a single server.
In this guide we’ll build a Gmail add-on from scratch with Apps Script: the manifest that registers it, a card-based UI, reading the currently open message, handling button actions, and finally deploying it. No prior add-on experience needed.
What you’ll need
What Is a Gmail Add-on?
A Gmail add-on is a Google Workspace add-on that appears in the right-hand sidebar of Gmail on web and mobile. It’s built entirely with Apps Script and Google’s CardService, which renders a card-based UI Google displays for you — so you describe the interface in code and Google handles the rendering across every client.
Set Up the Apps Script Project
Head to script.google.com and create a new project. You can work in the browser editor or, for version control, develop locally with clasp — the command-line tool for Apps Script.
npm install -g @google/clasp
clasp login
clasp create --type standalone --title "Gmail Add-on"
This gives you a project with a Code.gs file and an appsscript.json manifest — the two files that define your add-on.
Configure the Manifest
The appsscript.json manifest registers your add-on with Gmail: which function draws the homepage, and which draws the card when a message is open. This is the piece that turns plain Apps Script into a Gmail add-on.
{
  "oauthScopes": [
    "https://www.googleapis.com/auth/gmail.addons.execute",
    "https://www.googleapis.com/auth/gmail.addons.current.message.readonly"
  ],
  "addOns": {
    "common": {
      "name": "Gmail Add-on",
      "logoUrl": "https://www.gstatic.com/images/branding/product/1x/apps_script_48dp.png",
      "homepageTrigger": { "runFunction": "onHomepage" }
    },
    "gmail": {
      "contextualTriggers": [
        {
          "unconditional": {},
          "onTriggerFunction": "onGmailMessage"
        }
      ]
    }
  }
}
Build the Homepage Card
The homepage trigger runs when the user opens your add-on without a message selected. It returns a Card built with CardService — the building block for every screen in your add-on.
function onHomepage(e) {
  const section = CardService.newCardSection()
    .addWidget(
      CardService.newTextParagraph()
        .setText('Open an email to see contextual actions.')
    );

  return CardService.newCardBuilder()
    .setHeader(CardService.newCardHeader().setTitle('Gmail Add-on'))
    .addSection(section)
    .build();
}
Read the Open Email
The contextual trigger fires when a message is open. Google passes the message id in the event; use it to load the message with GmailApp and build a card from its contents.
function onGmailMessage(e) {
  const messageId = e.gmail.messageId;
  const accessToken = e.gmail.accessToken;
  GmailApp.setCurrentMessageAccessToken(accessToken);

  const message = GmailApp.getMessageById(messageId);
  const subject = message.getSubject();
  const from = message.getFrom();

  const section = CardService.newCardSection()
    .addWidget(CardService.newKeyValue().setTopLabel('From').setContent(from))
    .addWidget(CardService.newKeyValue().setTopLabel('Subject').setContent(subject))
    .addWidget(
      CardService.newTextButton()
        .setText('Log this email')
        .setOnClickAction(
          CardService.newAction().setFunctionName('onLogEmail')
        )
    );

  return CardService.newCardBuilder()
    .setHeader(CardService.newCardHeader().setTitle('Email Details'))
    .addSection(section)
    .build();
}
Set the message access token
Handle Actions & Call APIs
When the user taps a button, the function named in its action runs. That handler can call an external API with UrlFetchApp — for example to log the email into a CRM — then return a notification to confirm it worked.
function onLogEmail(e) {
  const messageId = e.gmail.messageId;
  GmailApp.setCurrentMessageAccessToken(e.gmail.accessToken);
  const message = GmailApp.getMessageById(messageId);

  UrlFetchApp.fetch('https://your-backend.com/log-email', {
    method: 'post',
    contentType: 'application/json',
    payload: JSON.stringify({
      subject: message.getSubject(),
      from: message.getFrom(),
    }),
    muteHttpExceptions: true,
  });

  return CardService.newActionResponseBuilder()
    .setNotification(
      CardService.newNotification().setText('Email logged \u2713')
    )
    .build();
}
External calls need a scope
Deploy & Publish
To try your add-on, use a test deployment; to share it, publish through the Marketplace.
- In the Apps Script editor, choose Deploy → Test deployments → Install to load it into your own Gmail.
- Open Gmail, refresh, and find your add-on in the right-hand sidebar.
- When it’s ready, configure the Google Workspace Marketplace SDK for the project.
- Complete the store listing and submit for OAuth verification if you use sensitive scopes.
- Publish privately to your Workspace domain, or publicly to the Marketplace.
Security & Best Practices
- Request the narrowest OAuth scopes your add-on needs — sensitive scopes trigger Google verification.
- Prefer current-message scopes over full-mailbox access whenever possible.
- Keep any secrets or API keys on your own backend, not in the Apps Script project.
- Add muteHttpExceptions and check response codes so a failed call fails gracefully.
- Publish a clear privacy policy — it’s required for Marketplace listing and OAuth verification.
Conclusion
Apps Script makes Gmail add-ons remarkably approachable: a manifest, a few card-building functions, and an action handler are enough to ship something genuinely useful — with Google hosting all of it. Start with a homepage card and one contextual action, get it working end to end, then layer on external integrations and richer UI. When you’re ready to publish a polished, secure add-on for your team or the Marketplace, we’d be glad to help.
Related Articles
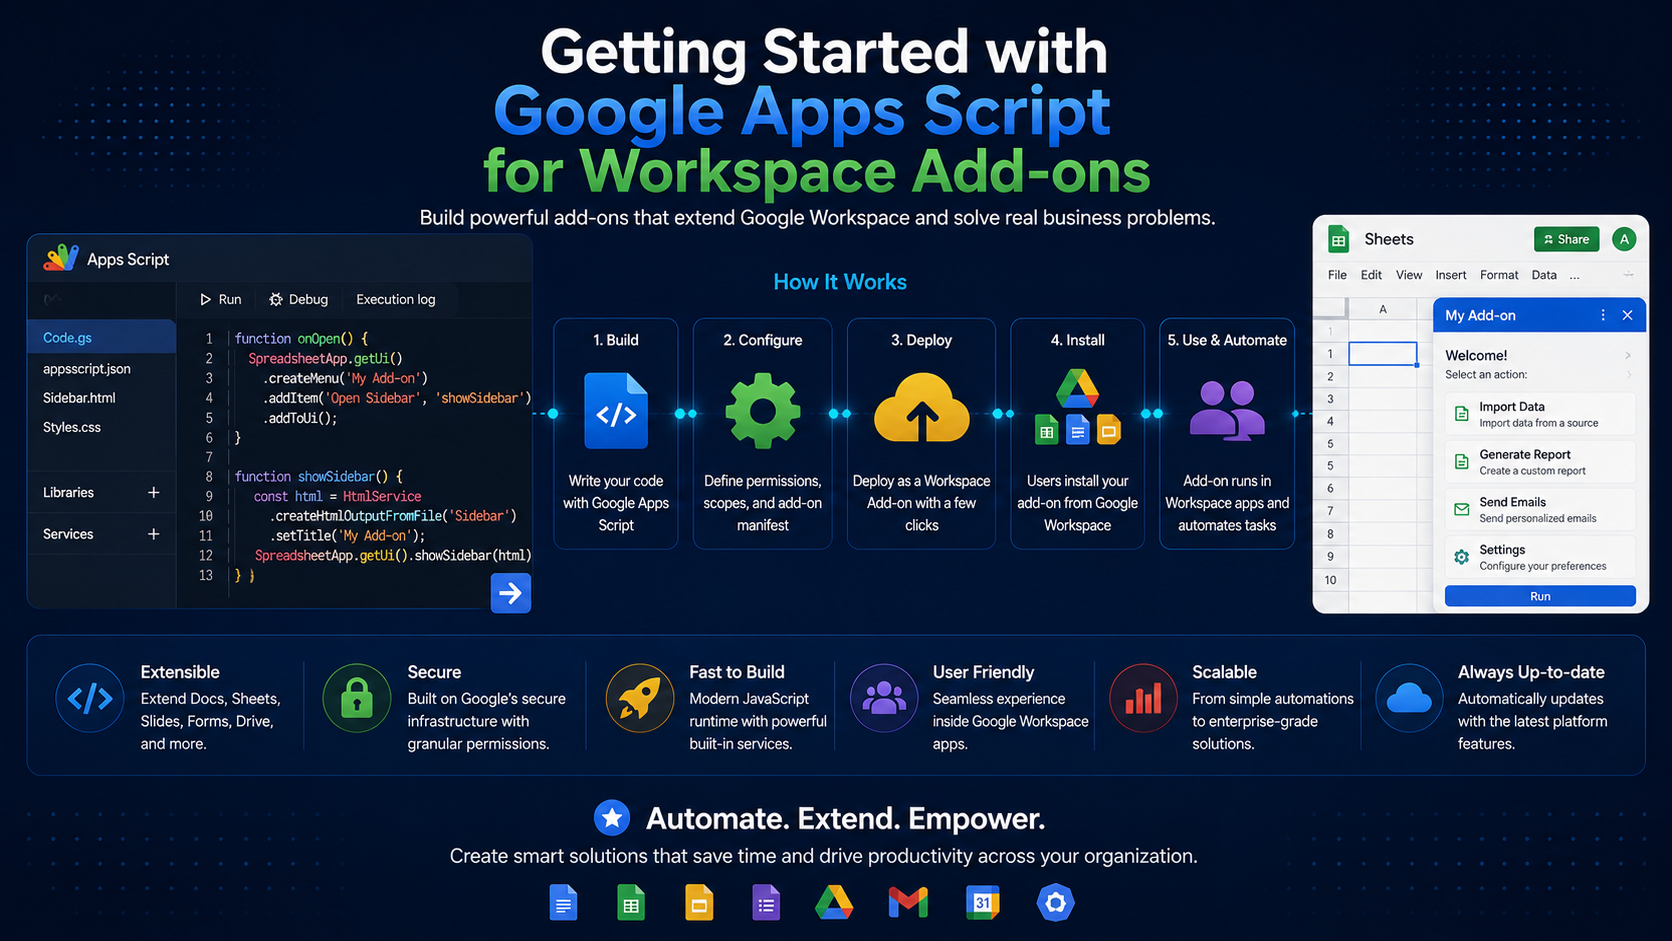 Google WorkspaceGetting Started with Google Apps Script for Workspace Add-onsSeptember 5, 2024 · 7 min read
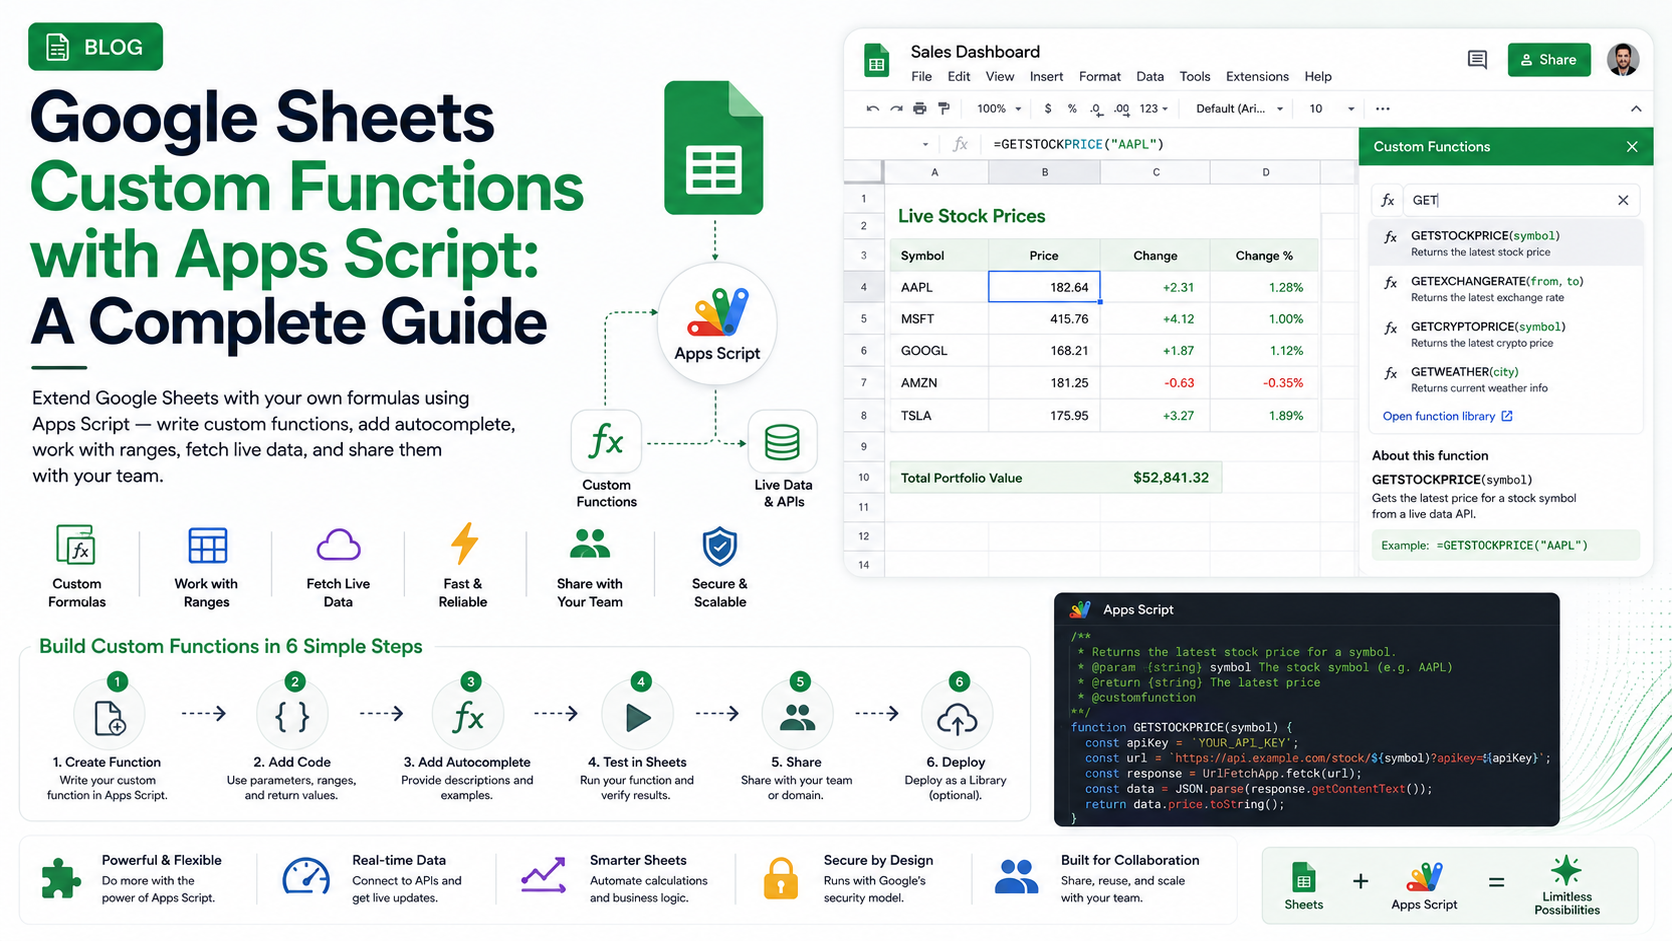 Google WorkspaceGoogle Sheets Custom Functions with Apps Script: A Complete GuideMay 5, 2025 · 8 min read
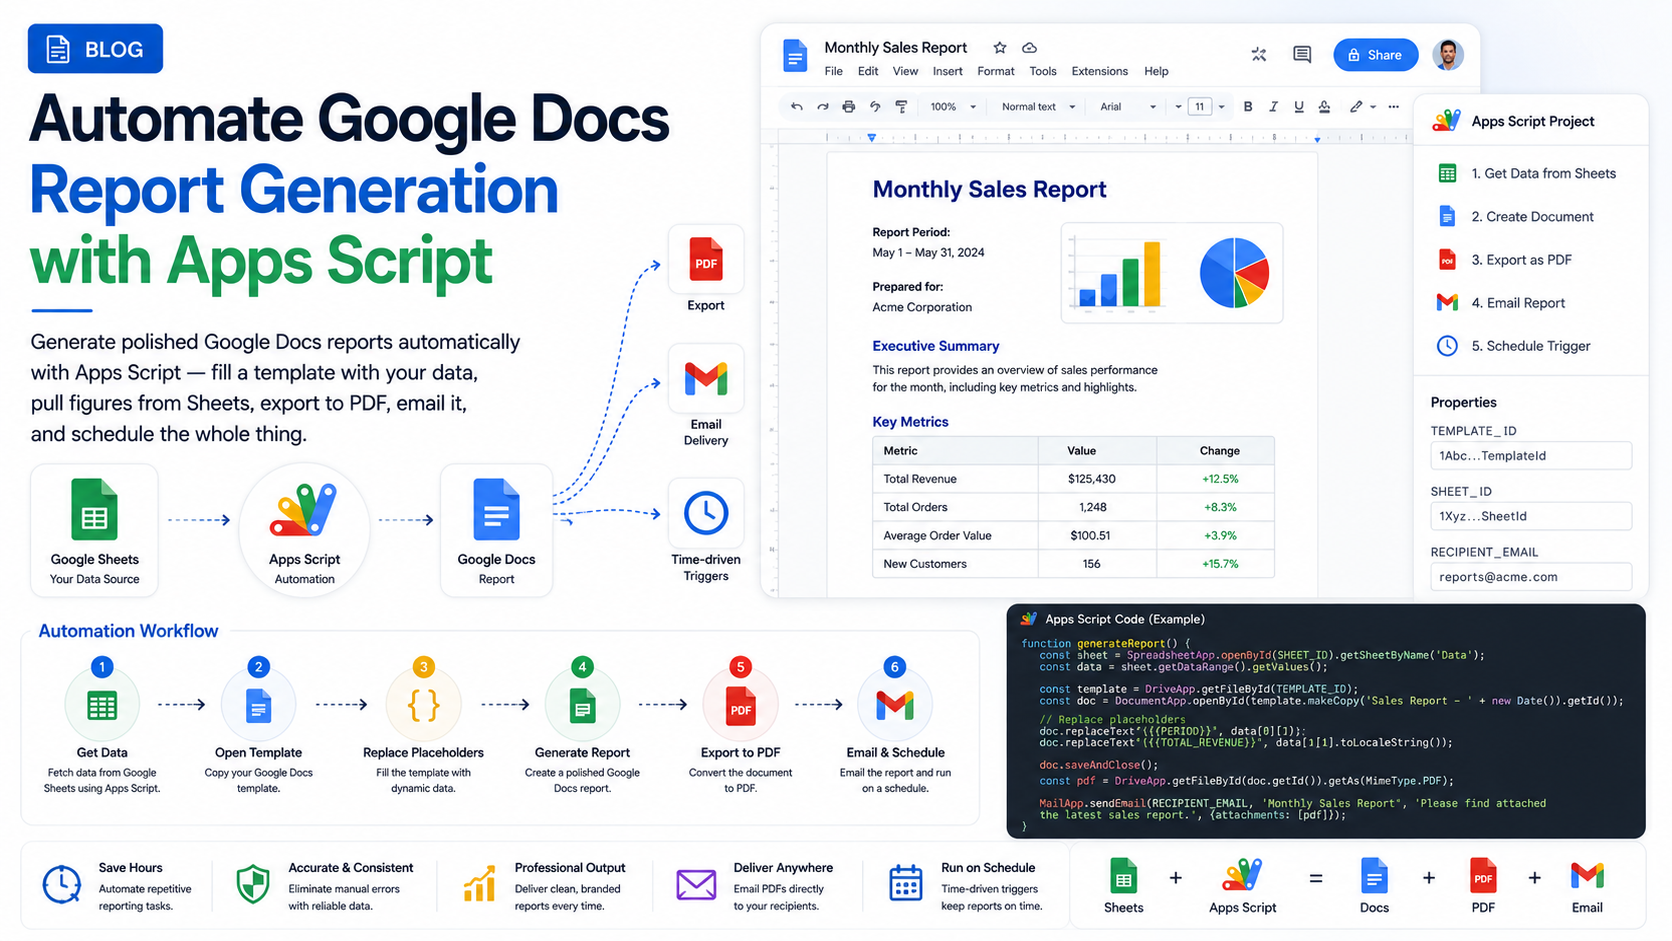 Google WorkspaceAutomate Google Docs Report Generation with Apps ScriptMay 15, 2025 · 8 min read